Okay. Now that we're all up to speed, I can proudly tell you that I made good on my promise and I made her around 50 tacks. My grandma, mom, and I had a blast looking through older photos and picking which would go up on the board. These pins add a fashionable and functional element to the board, and I love when I can fuse style and productivity.

I think making these little guys is super self explanatory but I'll go over it anyway because I guess that's kind of what I do.
You will need:
-Basic, plain thumbtacks
-E6000 glue (or another heavy duty adhesive)
-Small plastic flowers (One pack of mine was sold in the scrapbooking section and had adhesive discs I pulled off, the other package was sold as a "finding". You've seen these before though, trust me. You can buy hundreds of these goobers from China for a couple dollars also)
-Small clothes pins. (Mine were from a seasonal end cap at Michael's, but I've seen them in many different stores, including Target.)
-Scrap/small piece of cork

First, place any bit of paper over the cork as to protect it from any stray glue. Begin to place push pins into the board in some kind of orderly fashion. I chose circles. After I snapped this photo I ended up adding 2 more circles, so use your imagination, okay?

Now it's time to glue! I applied the glue onto the flowers and clips before placing them on the pin and holding them there momentarily before moving on. A quick warning though: E6000 releases highly toxic fumes and often causes headaches. Use in a well ventilated area and use a mask of some sort. I had a long sleeve shirt lying around so I folded it over itself 4 times (meaning 8 layers of fabric) and tied it around my face covering my nose and mouth using the sleeves. A real fashion statement, I know.

Here's what all mine looked like once they had dried for about 10 hours. I think the longer the drying time the better.

Doesn't this arrangement look exponentially better than the original? I think yes.

P.S.
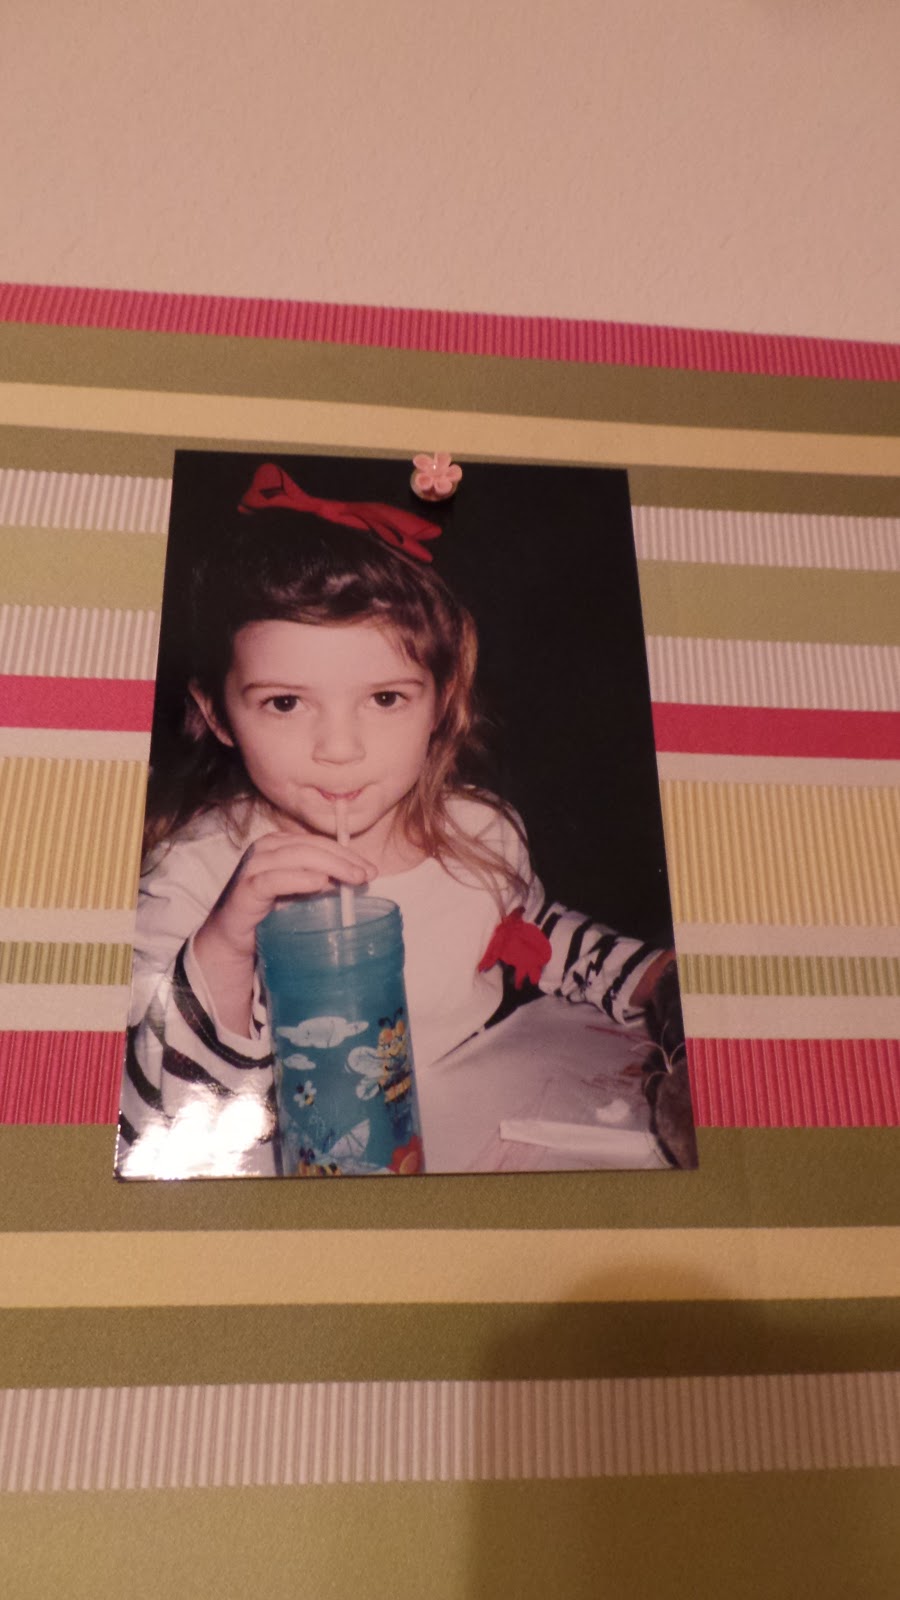
As we sifted through older photos we found this one of little me and I figured somebody would appreciate it. Don't you just love going through photos?
No comments:
Post a Comment